

Cold Brewed Coffee
/I REALLY enjoy coffee.
No, I mean REALLY enjoy good coffee
One of my favorite ways to prepare coffee is to make "cold brewed" coffee concentrate. In this post, I'll show you how I prepare this luscious treat. This post will be written in real time as the process goes on. Be aware that this takes about 24 hours from start to finish. Don't worry, most of that time is spent ignoring the coffee and getting on with your day-to-day life.
I start with a pound of good quality coffee that I've ground to a relatively fine grind. I've also got some filtered water on hand, along with a covered bowl large enough to hold the coffee and enough water to cover.

I prefer to use organic coffee.
Once I've transferred the coffee to a sealable bowl, I add water just to cover and allow the coffee to soak up water for a few minutes. This process is called "blooming" and helps release gas and provides a bigger flavor. This is less useful in this process than when hot brewing, but old habits are hard to break. It certainly can't hurt the flavor, and likely helps at least a little.

Coffee bloomed
After blooming for a few minutes, I stir to make sure there are no lumps and then add the remaining water. Make sure you leave room to snap the lid on.

Stir to remove lumps, making sure coffee is evenly distributed in the water. (that's a coffee stirring paddle from my AeroPress)
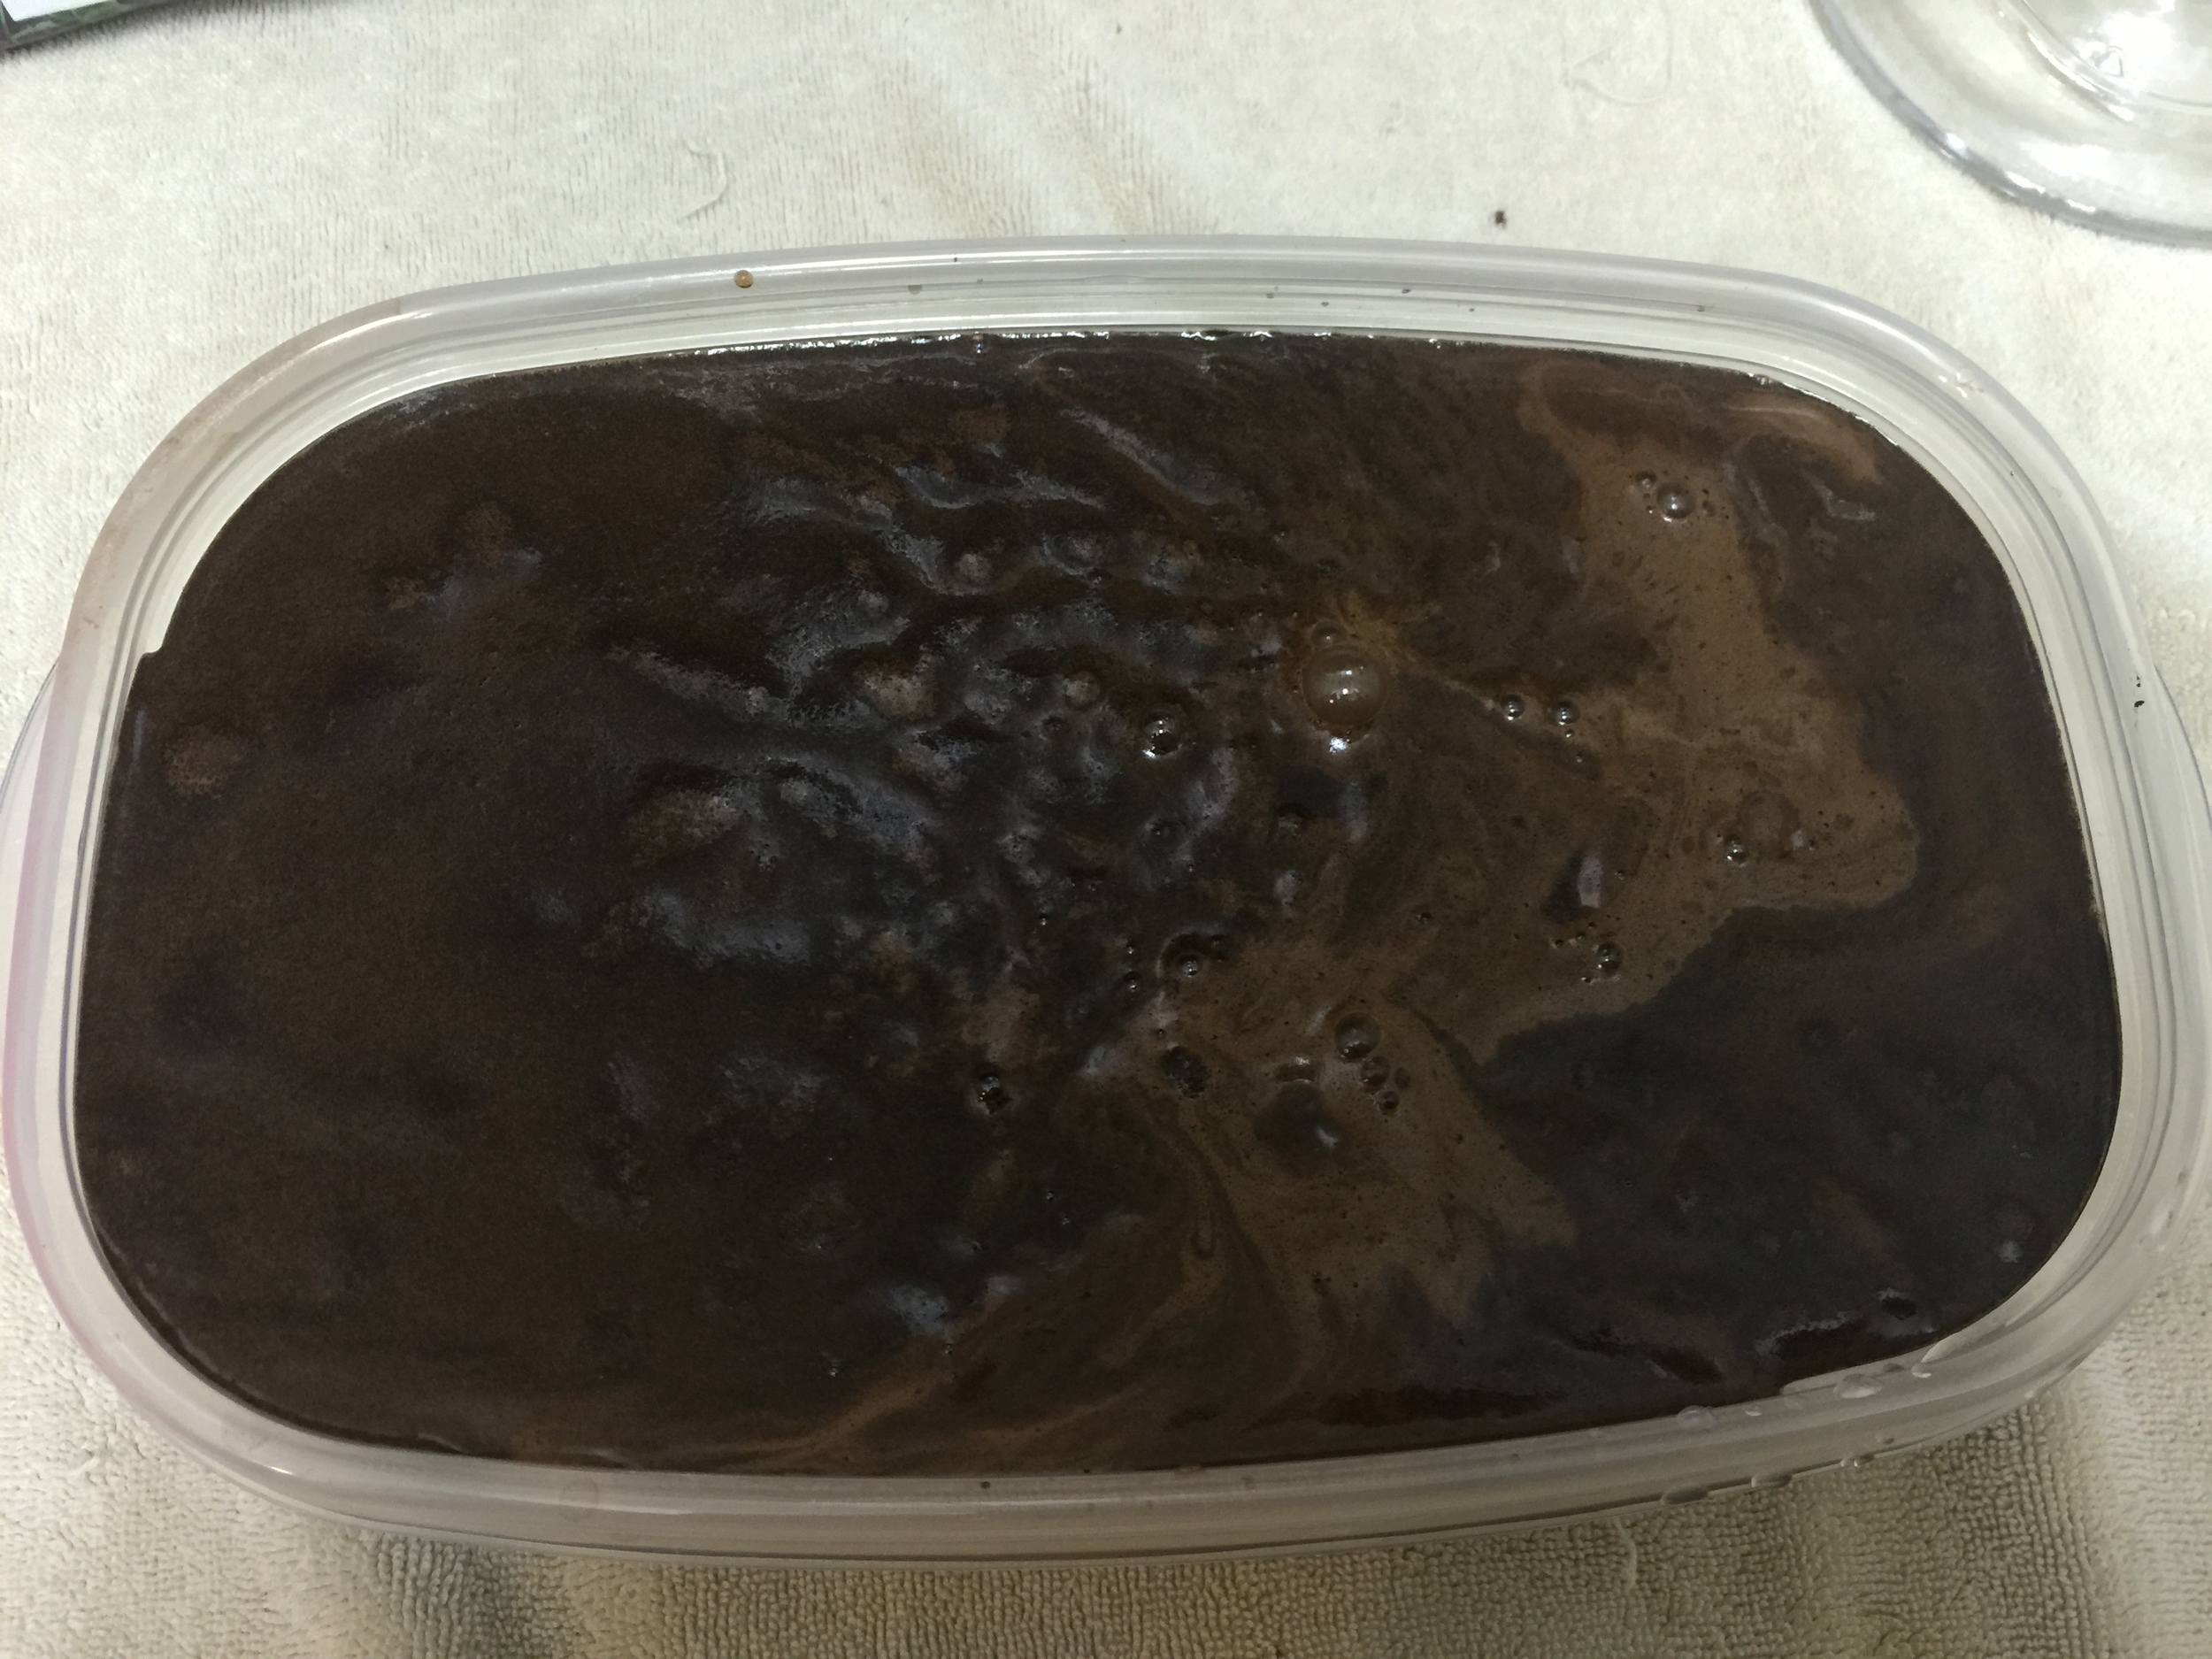
This is now ready to sit at room temperature for 24 hours.

Coffee is 'put to bed' at 9:30 a.m. Friday. We'll check back Saturday morning.
Leave the coffee at least "overnight". For best results, leave a full 24 hours.
... if you're reading this in real time as I post, we'll be back tomorrow morning to see the pour and the remaining steps.
On the next day...
Ready to filter
This step seems pretty obvious but I will tell you that you should scoop liquid only near the upper portion of the steeping bowl, for reasons that will be apparent below in a few moments.
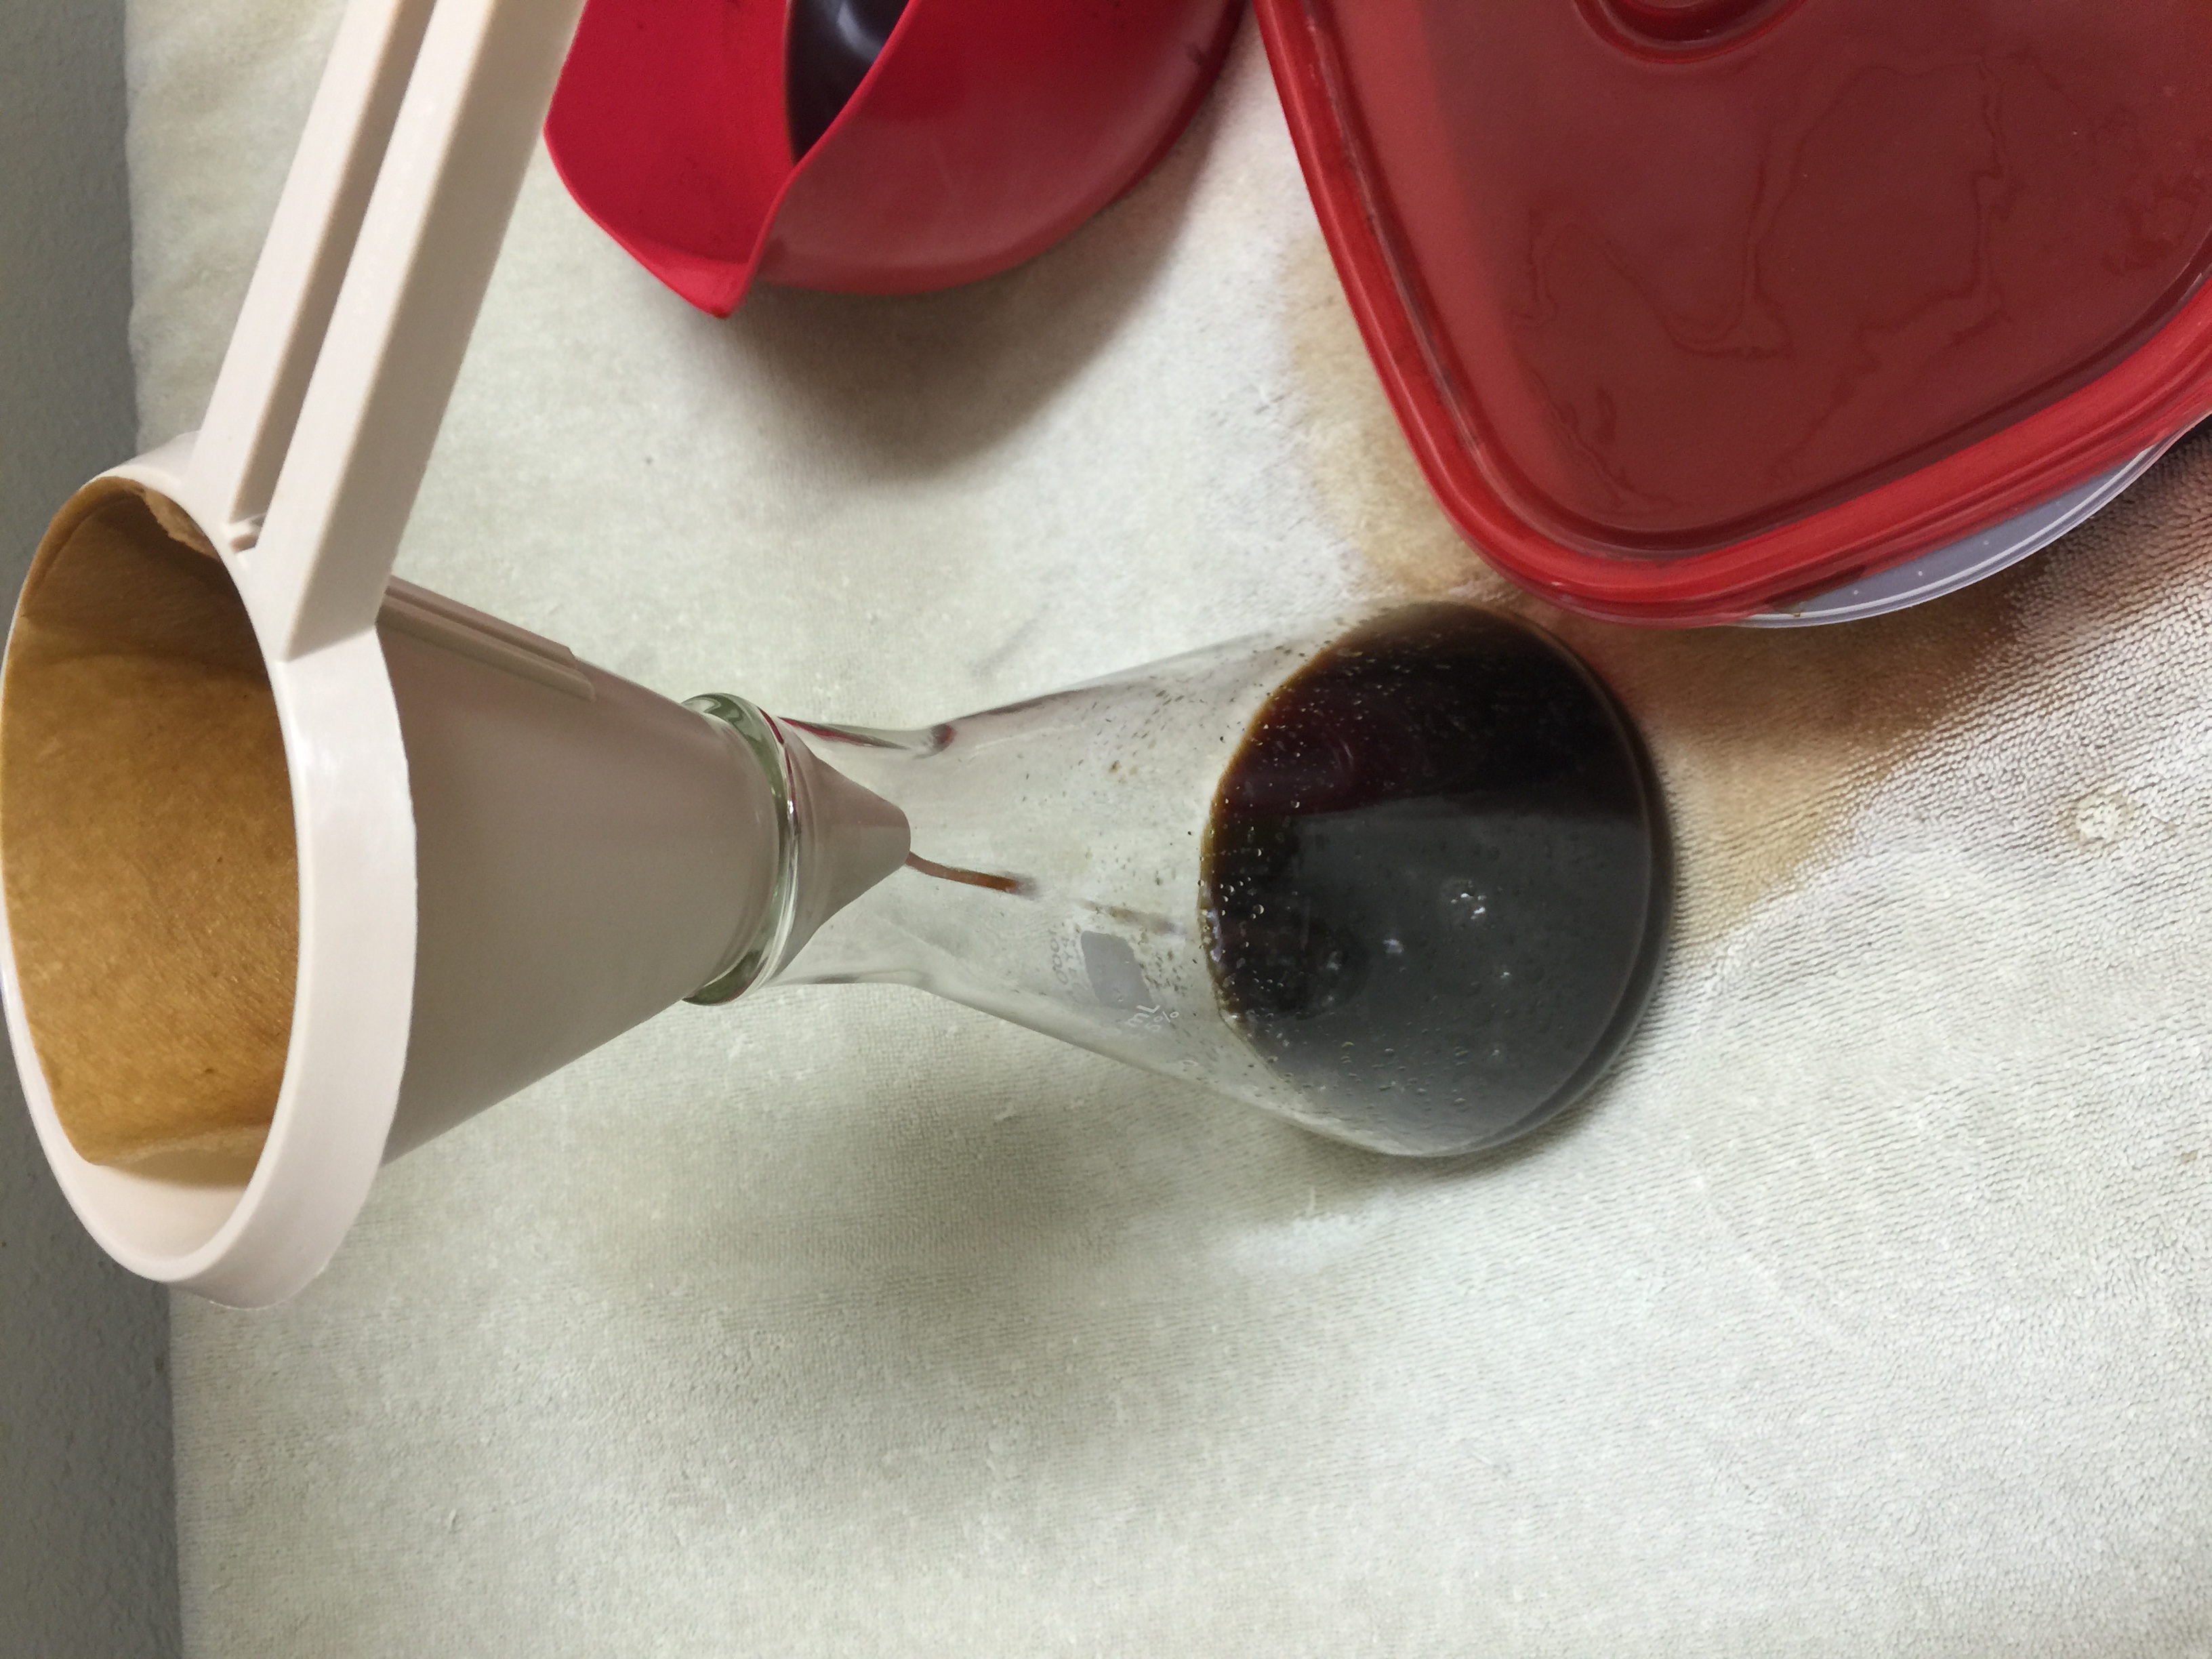
Filtering begins...
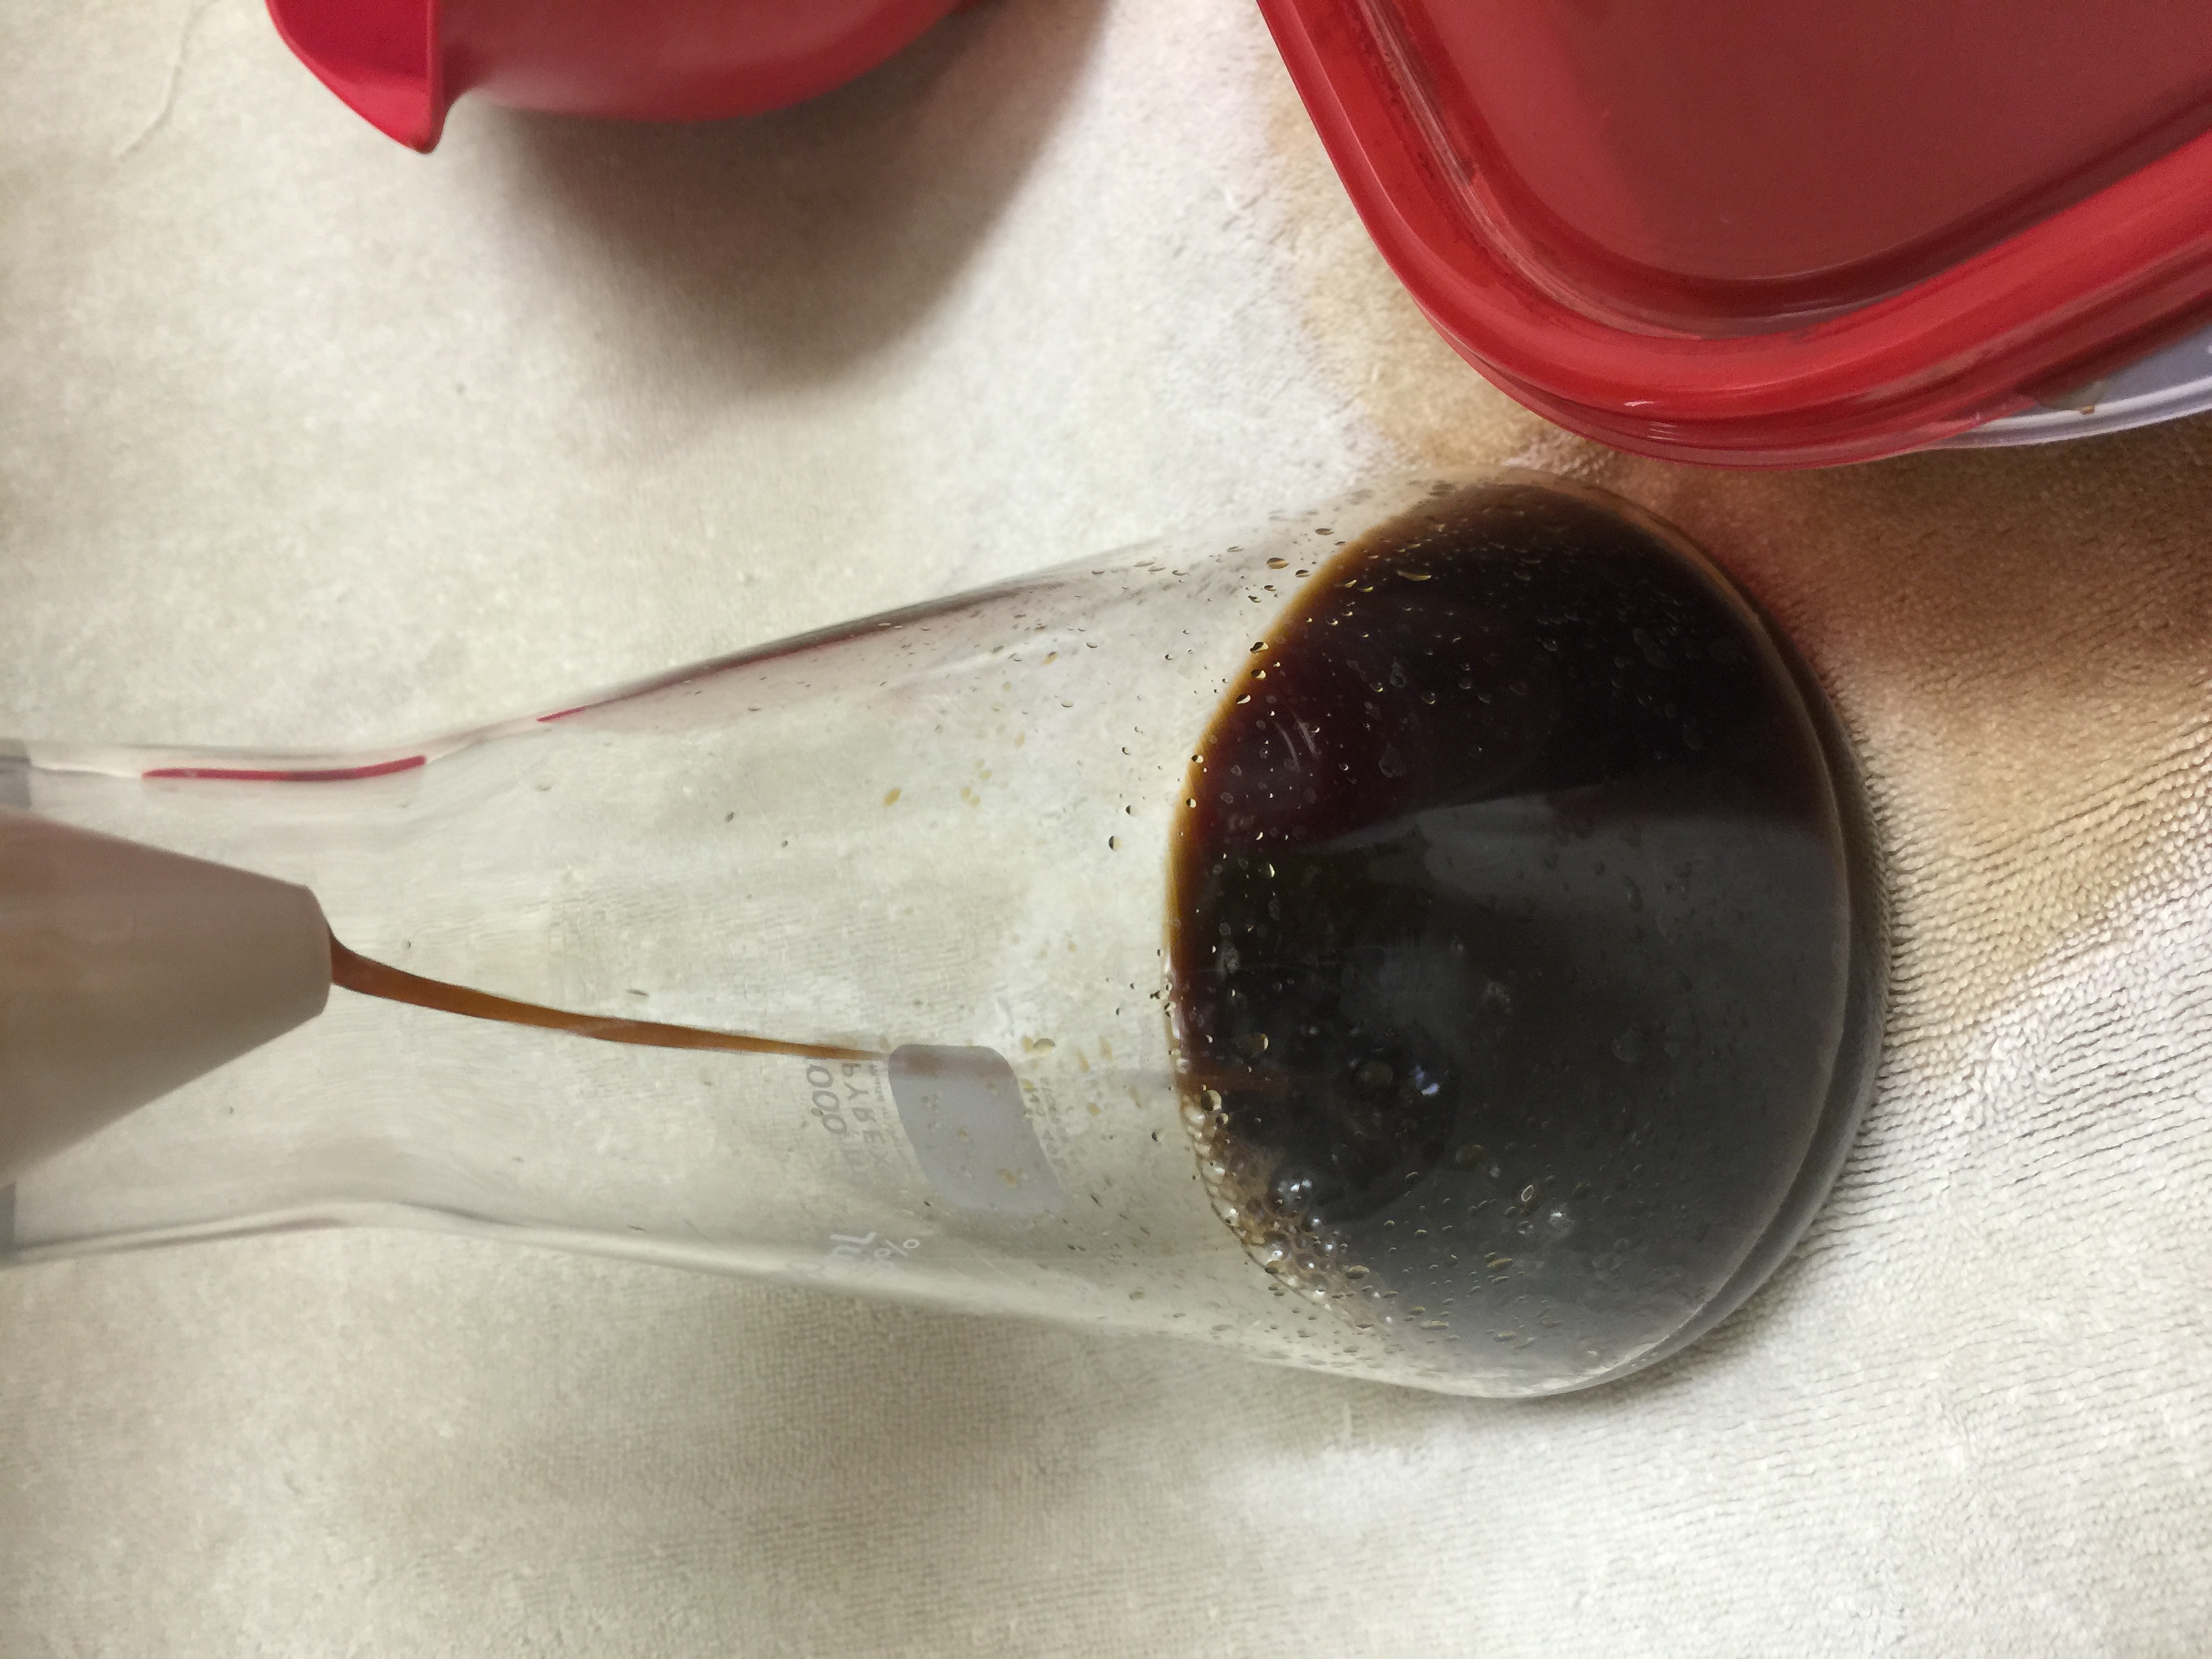
liquid gold!

time to swap filters
You will notice that filter speed slows dramatically at some point. Likely this will be after you have recovered the first cup or two of coffee concentrate. At that point, swap to a new filter.
Pro tip: This is one reason we only want to dip liquid from the upper half of the steeping container. (more later on this).
At some point you will begin to feel the sediment/grounds as you dip in to gather liquid for filtering. At that point, you may want to stop and do a slightly different filter trick.
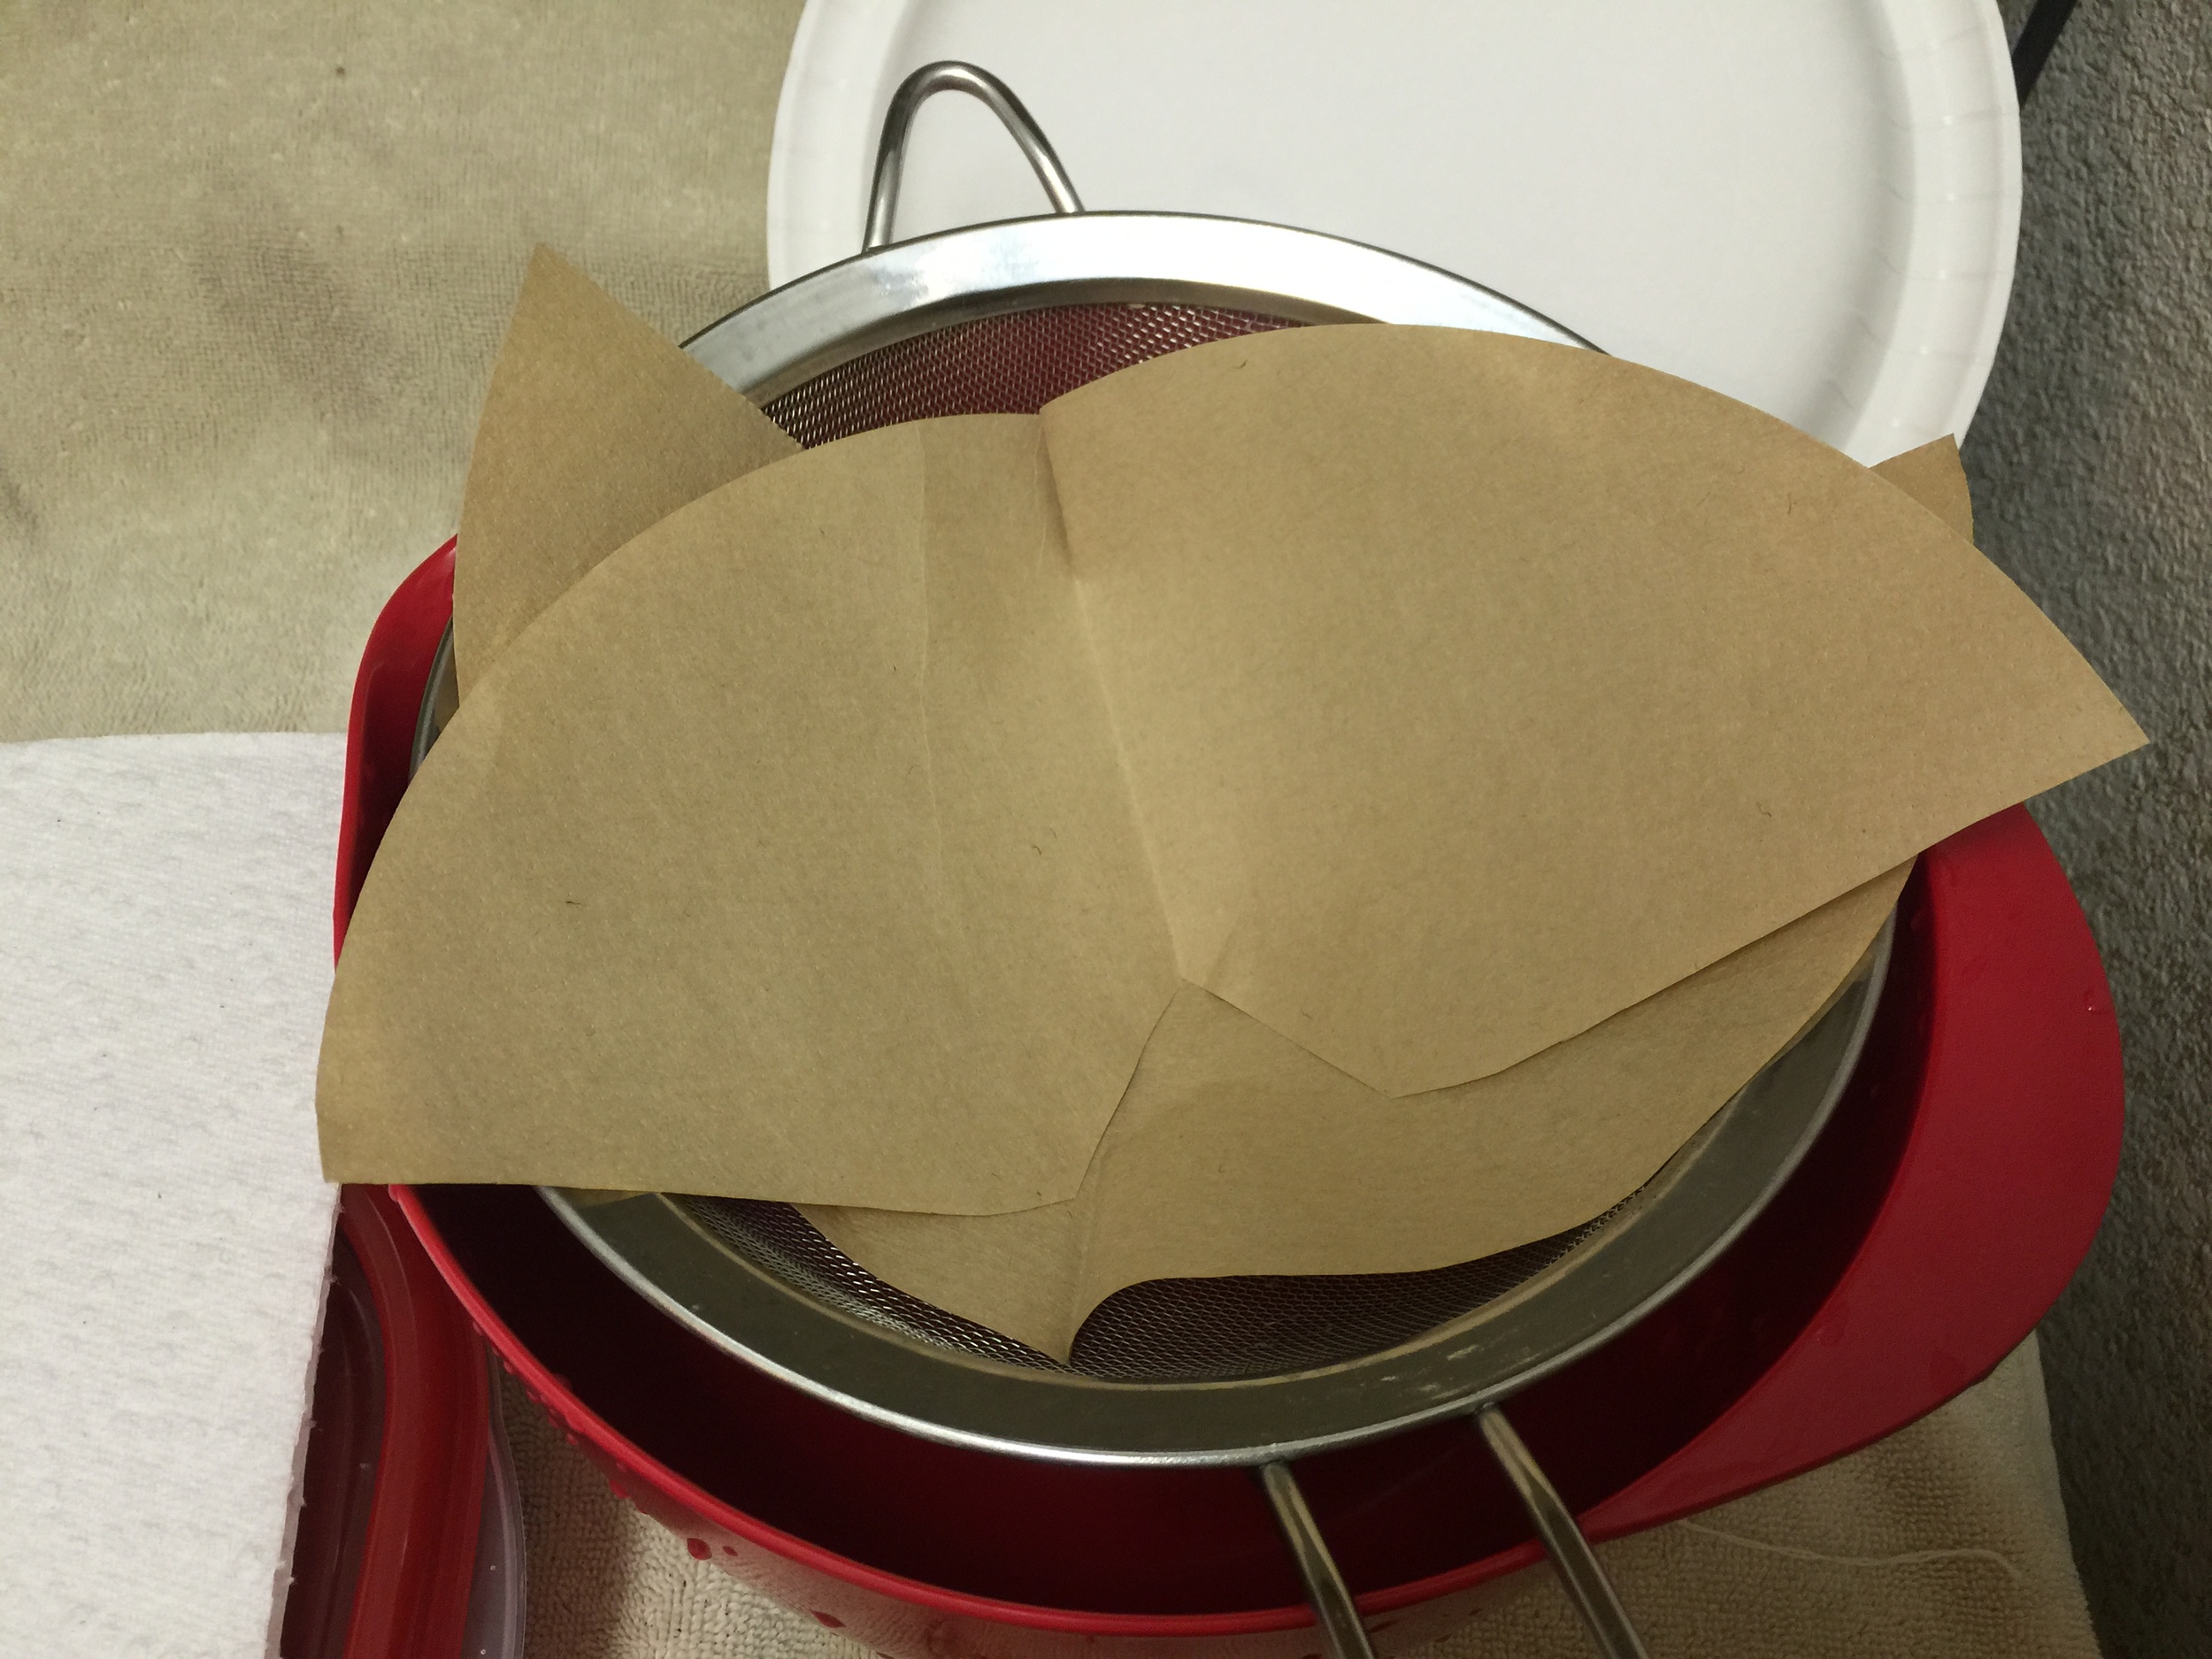
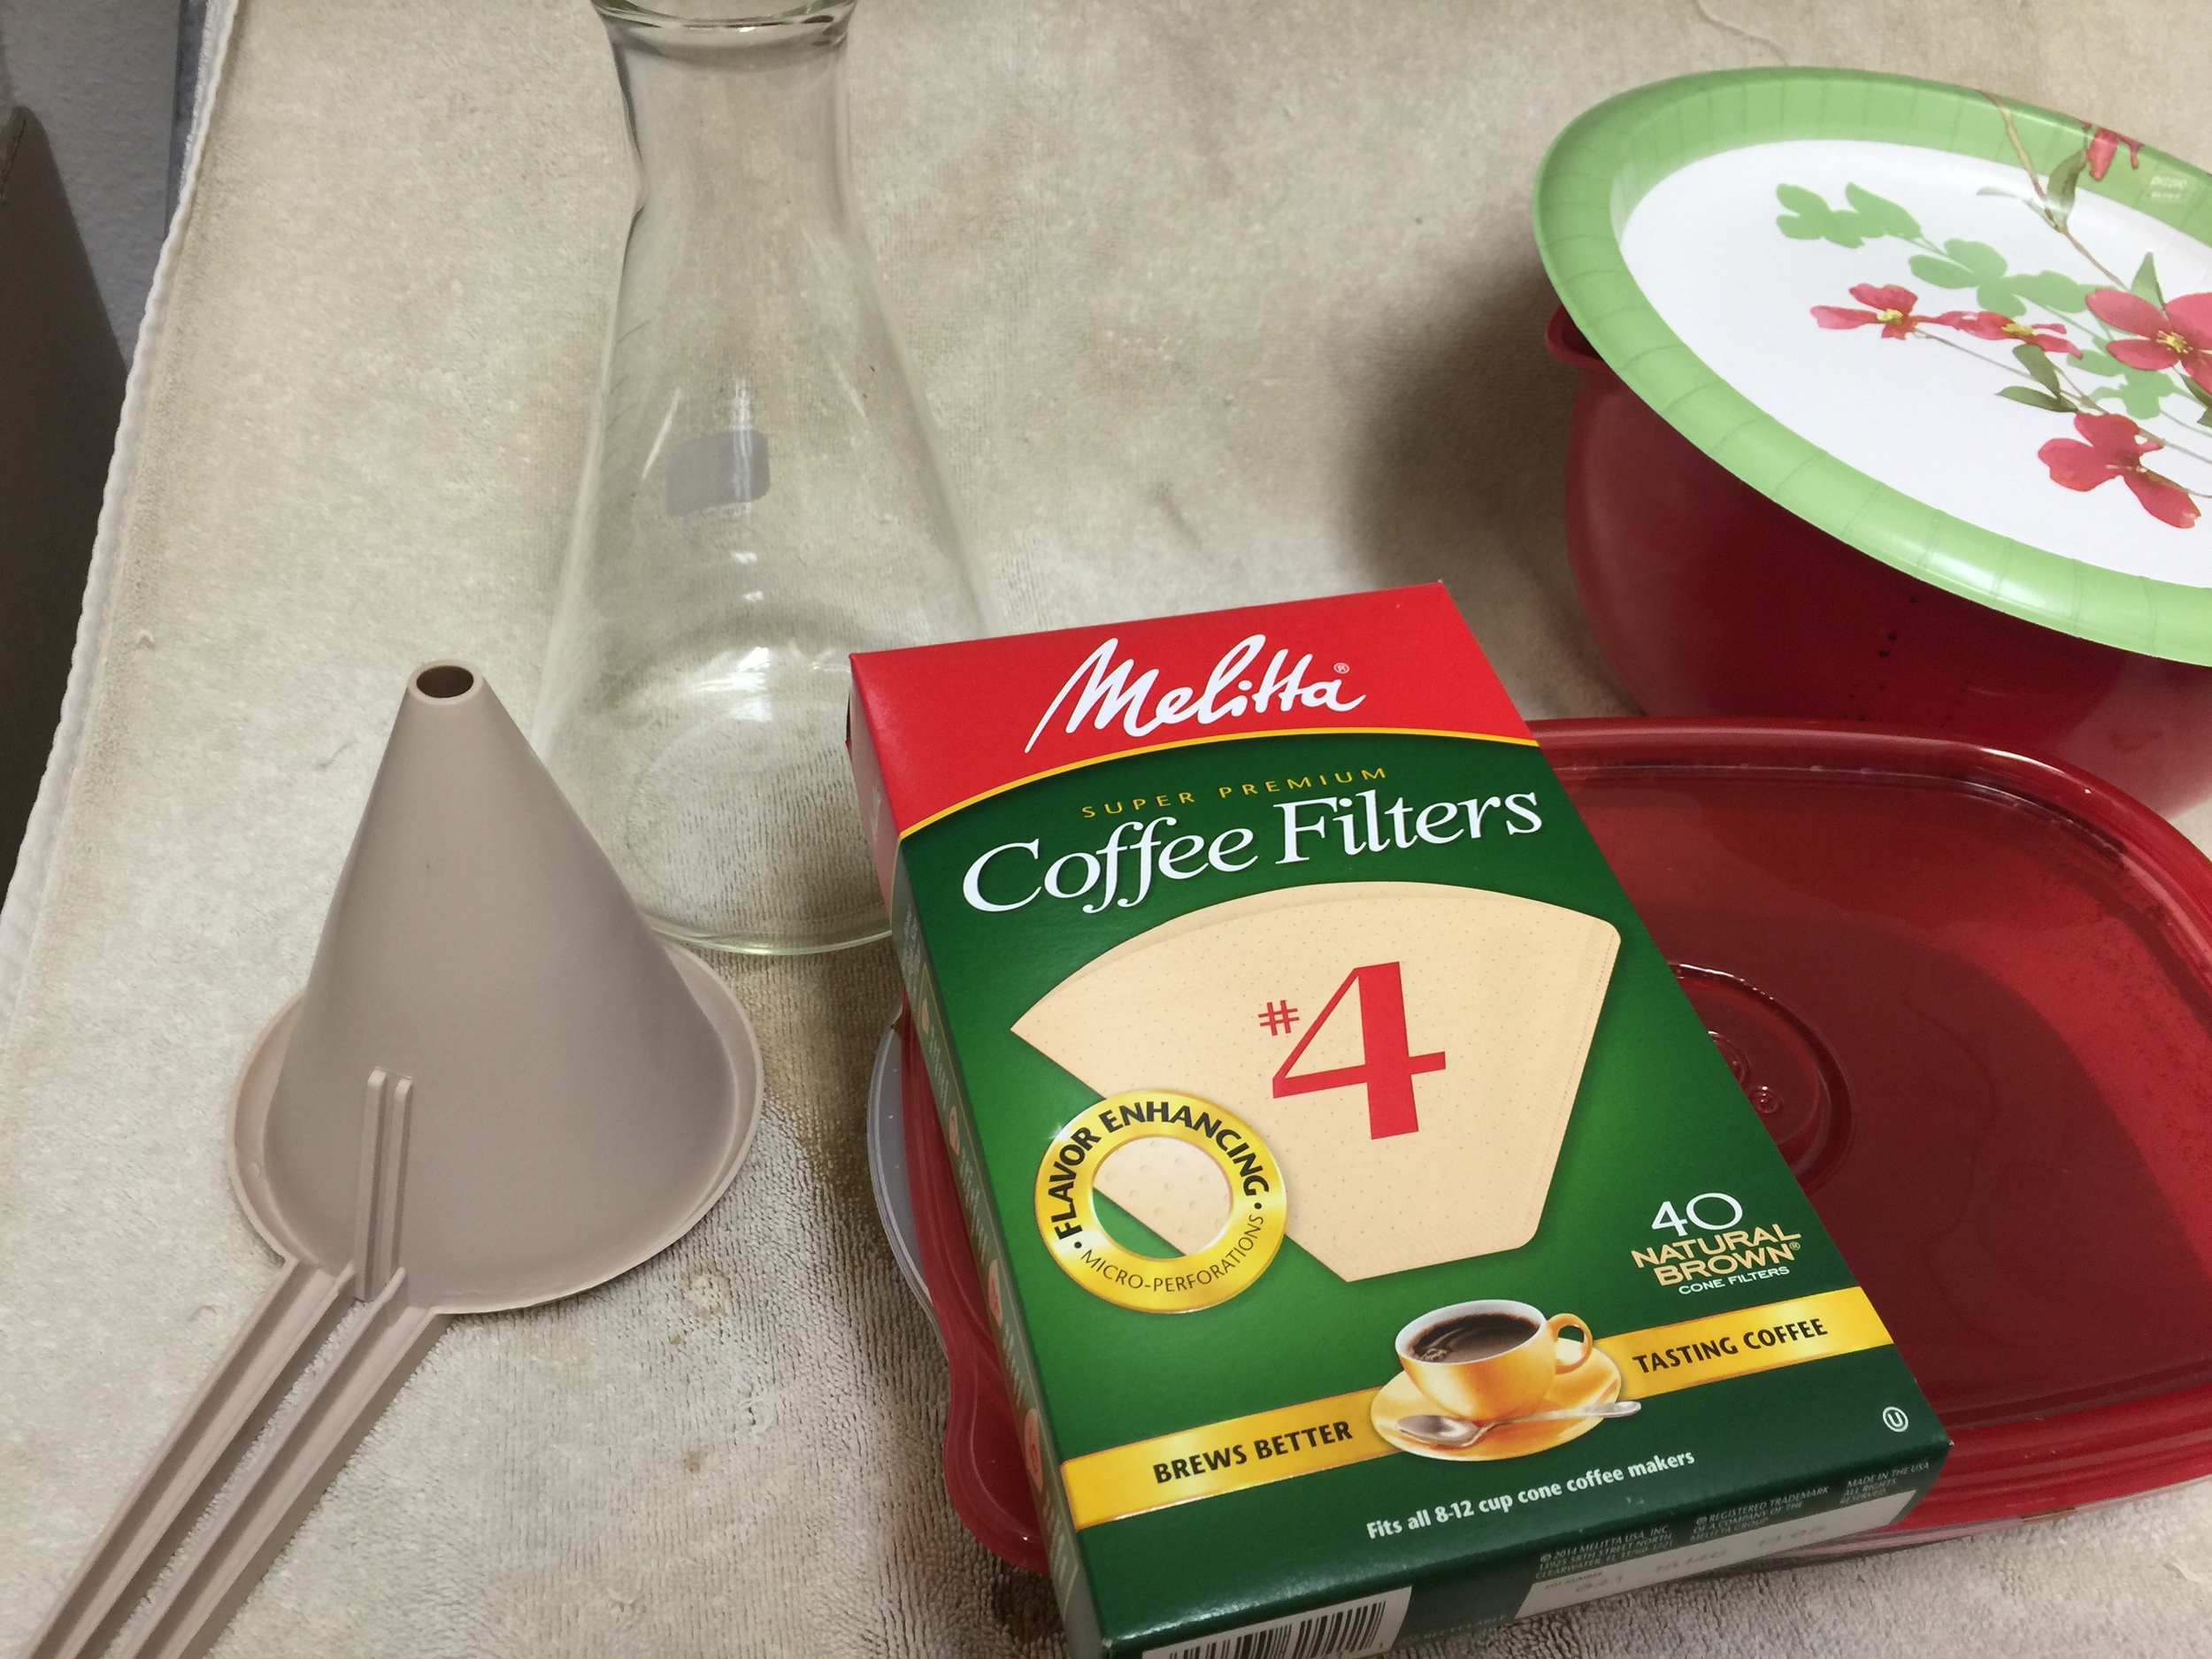
Prep the strainer
I cut open two or three coffee filters and lay them over a strainer... (more)

... ready for the 'rough filter'
... then cover that with two layers of paper towels.

coarse filtering
Here I'm filtering the layer of liquid that is floating on top of the very thick sediment

sediment... don't try to recover this moisture
THIS is why I've said to dip from the top. You did not want to try and run this through your filter cone. It would take forever!
Note: The first few times I made cold brew coffee, I went to great lengths to try and recover the scant moisture remaining in these grounds. Learn from me, don't bother. There is very little left to recover at this point and you will end up with far more particulate matter in your final concentrate. Just let it go. If you compost, carry this out to the compost pile where it can be put to good use.
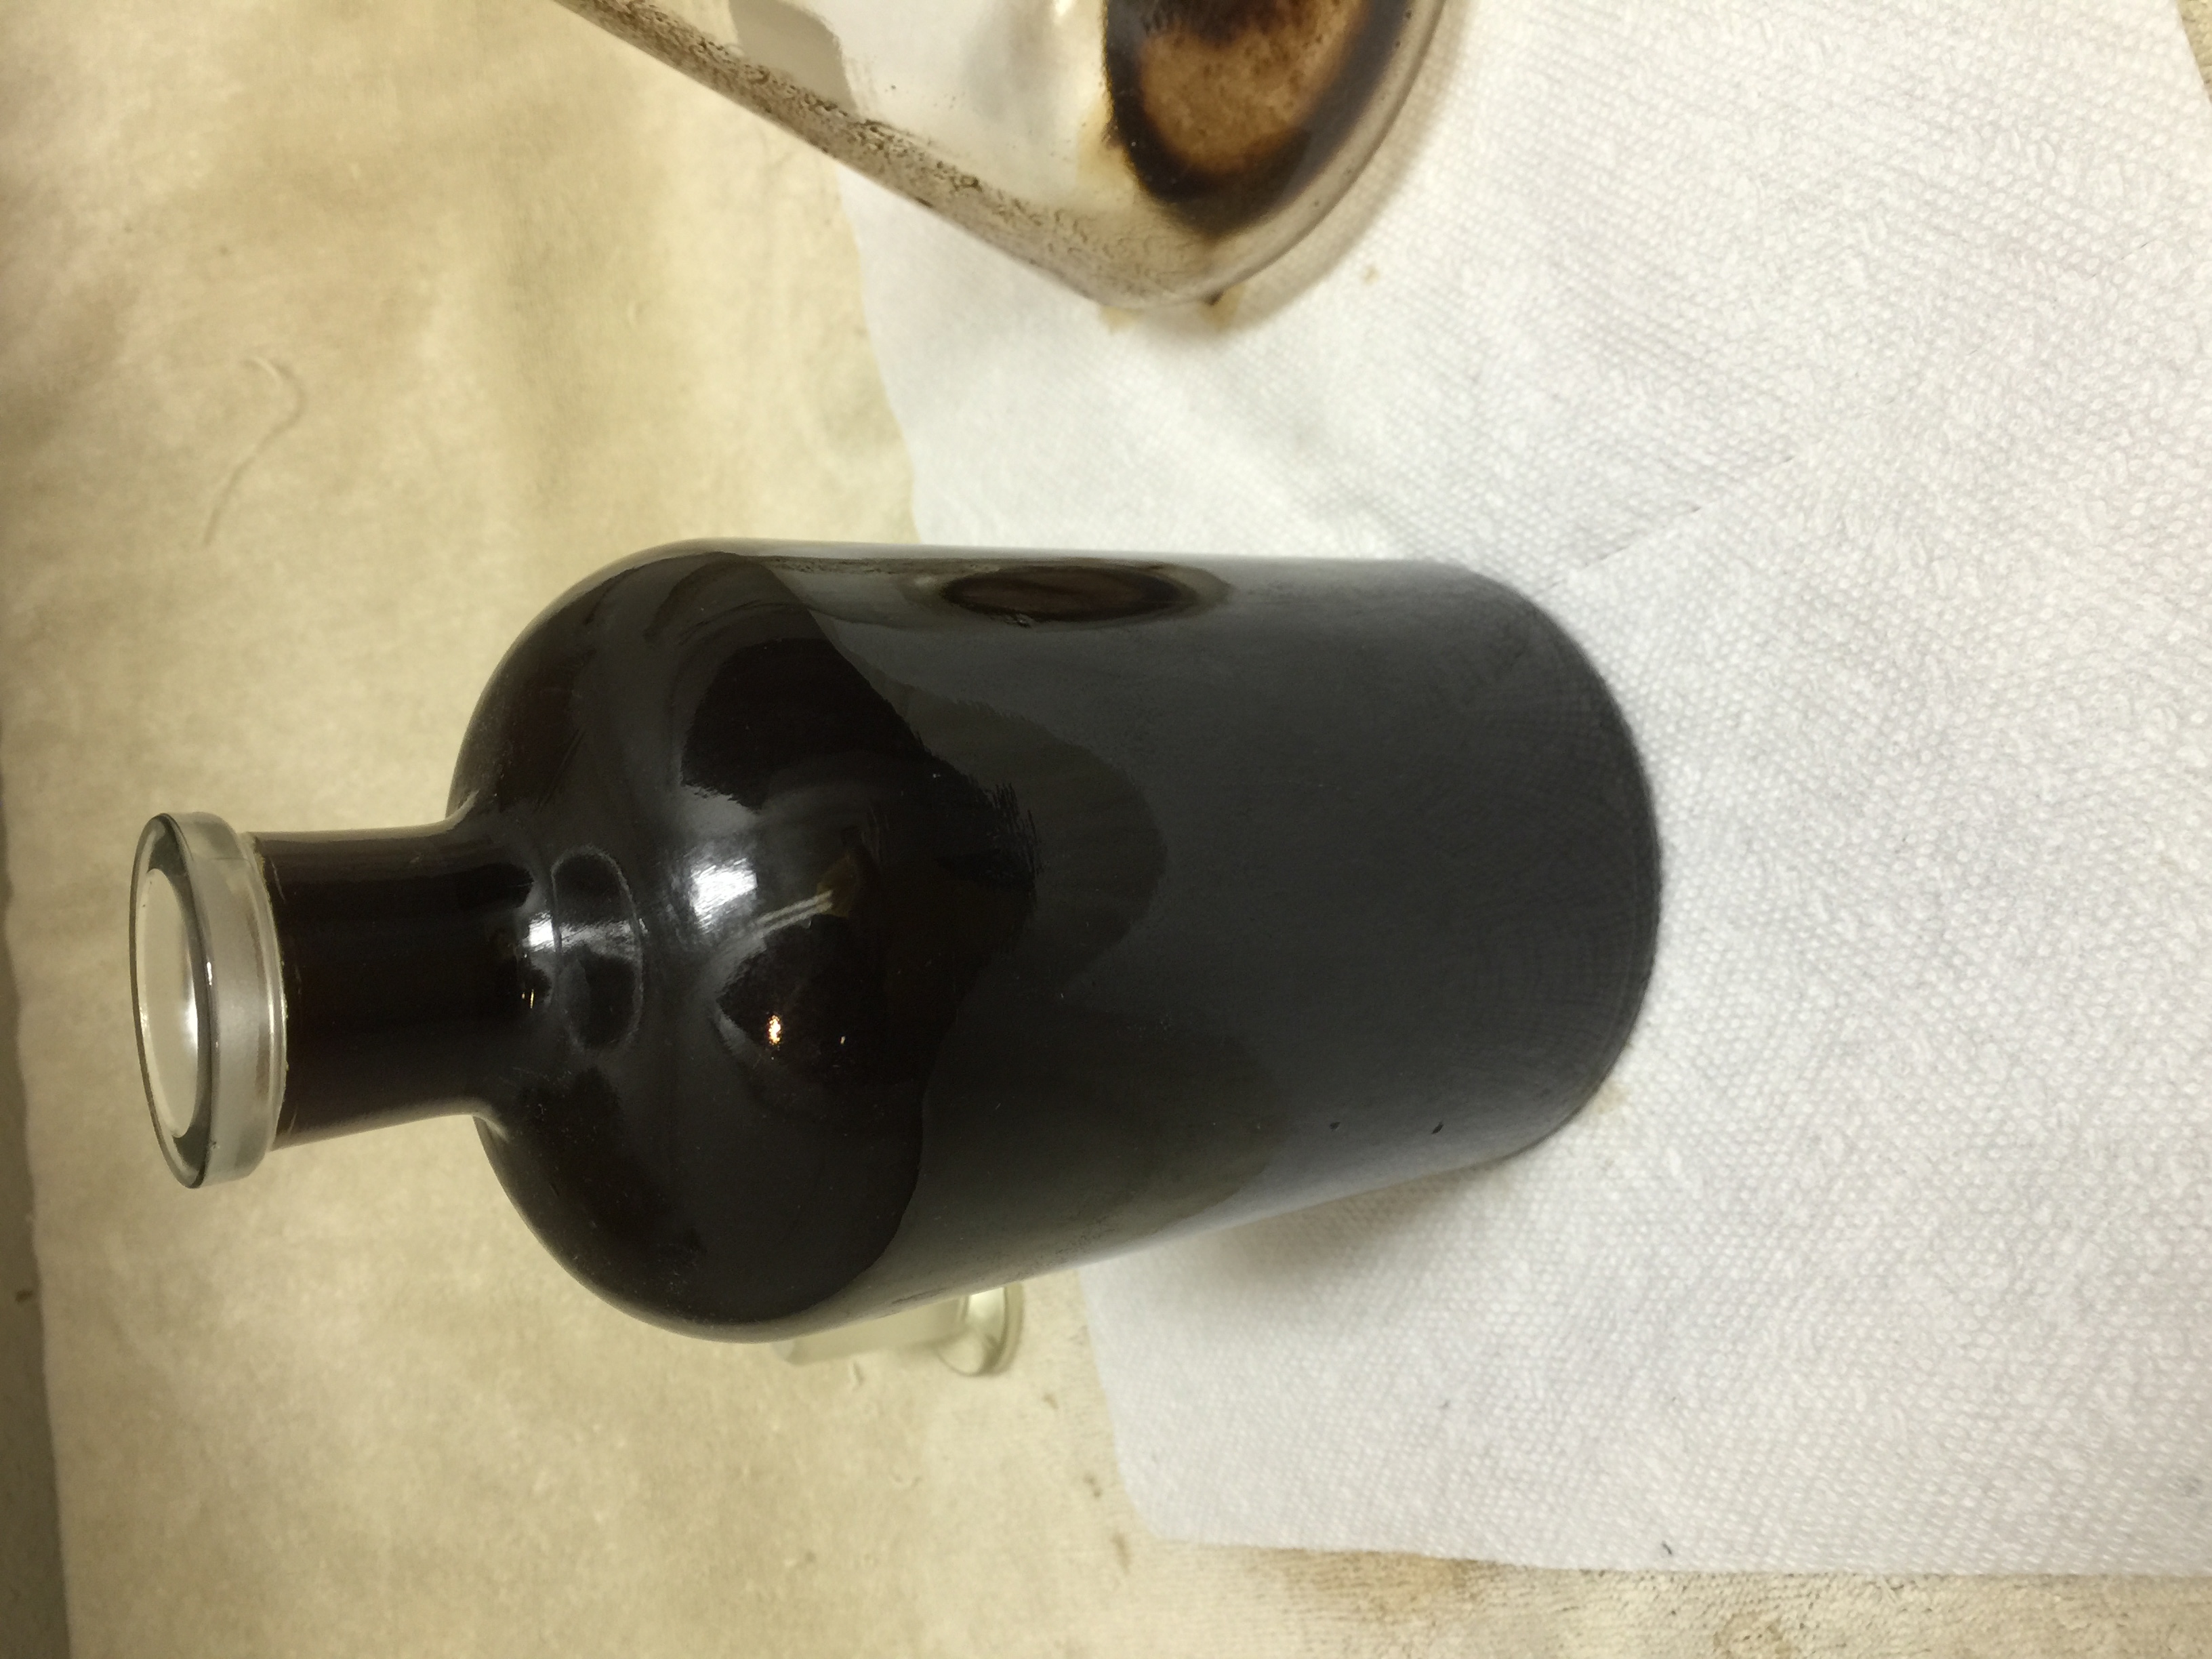
Final storage (refrigerate this!)
Coffee concentrate transferred to final storage container. This now should be refrigerated. This will last for a month or more in the refrigerator, assuming you can leave it alone. I certainly can't.
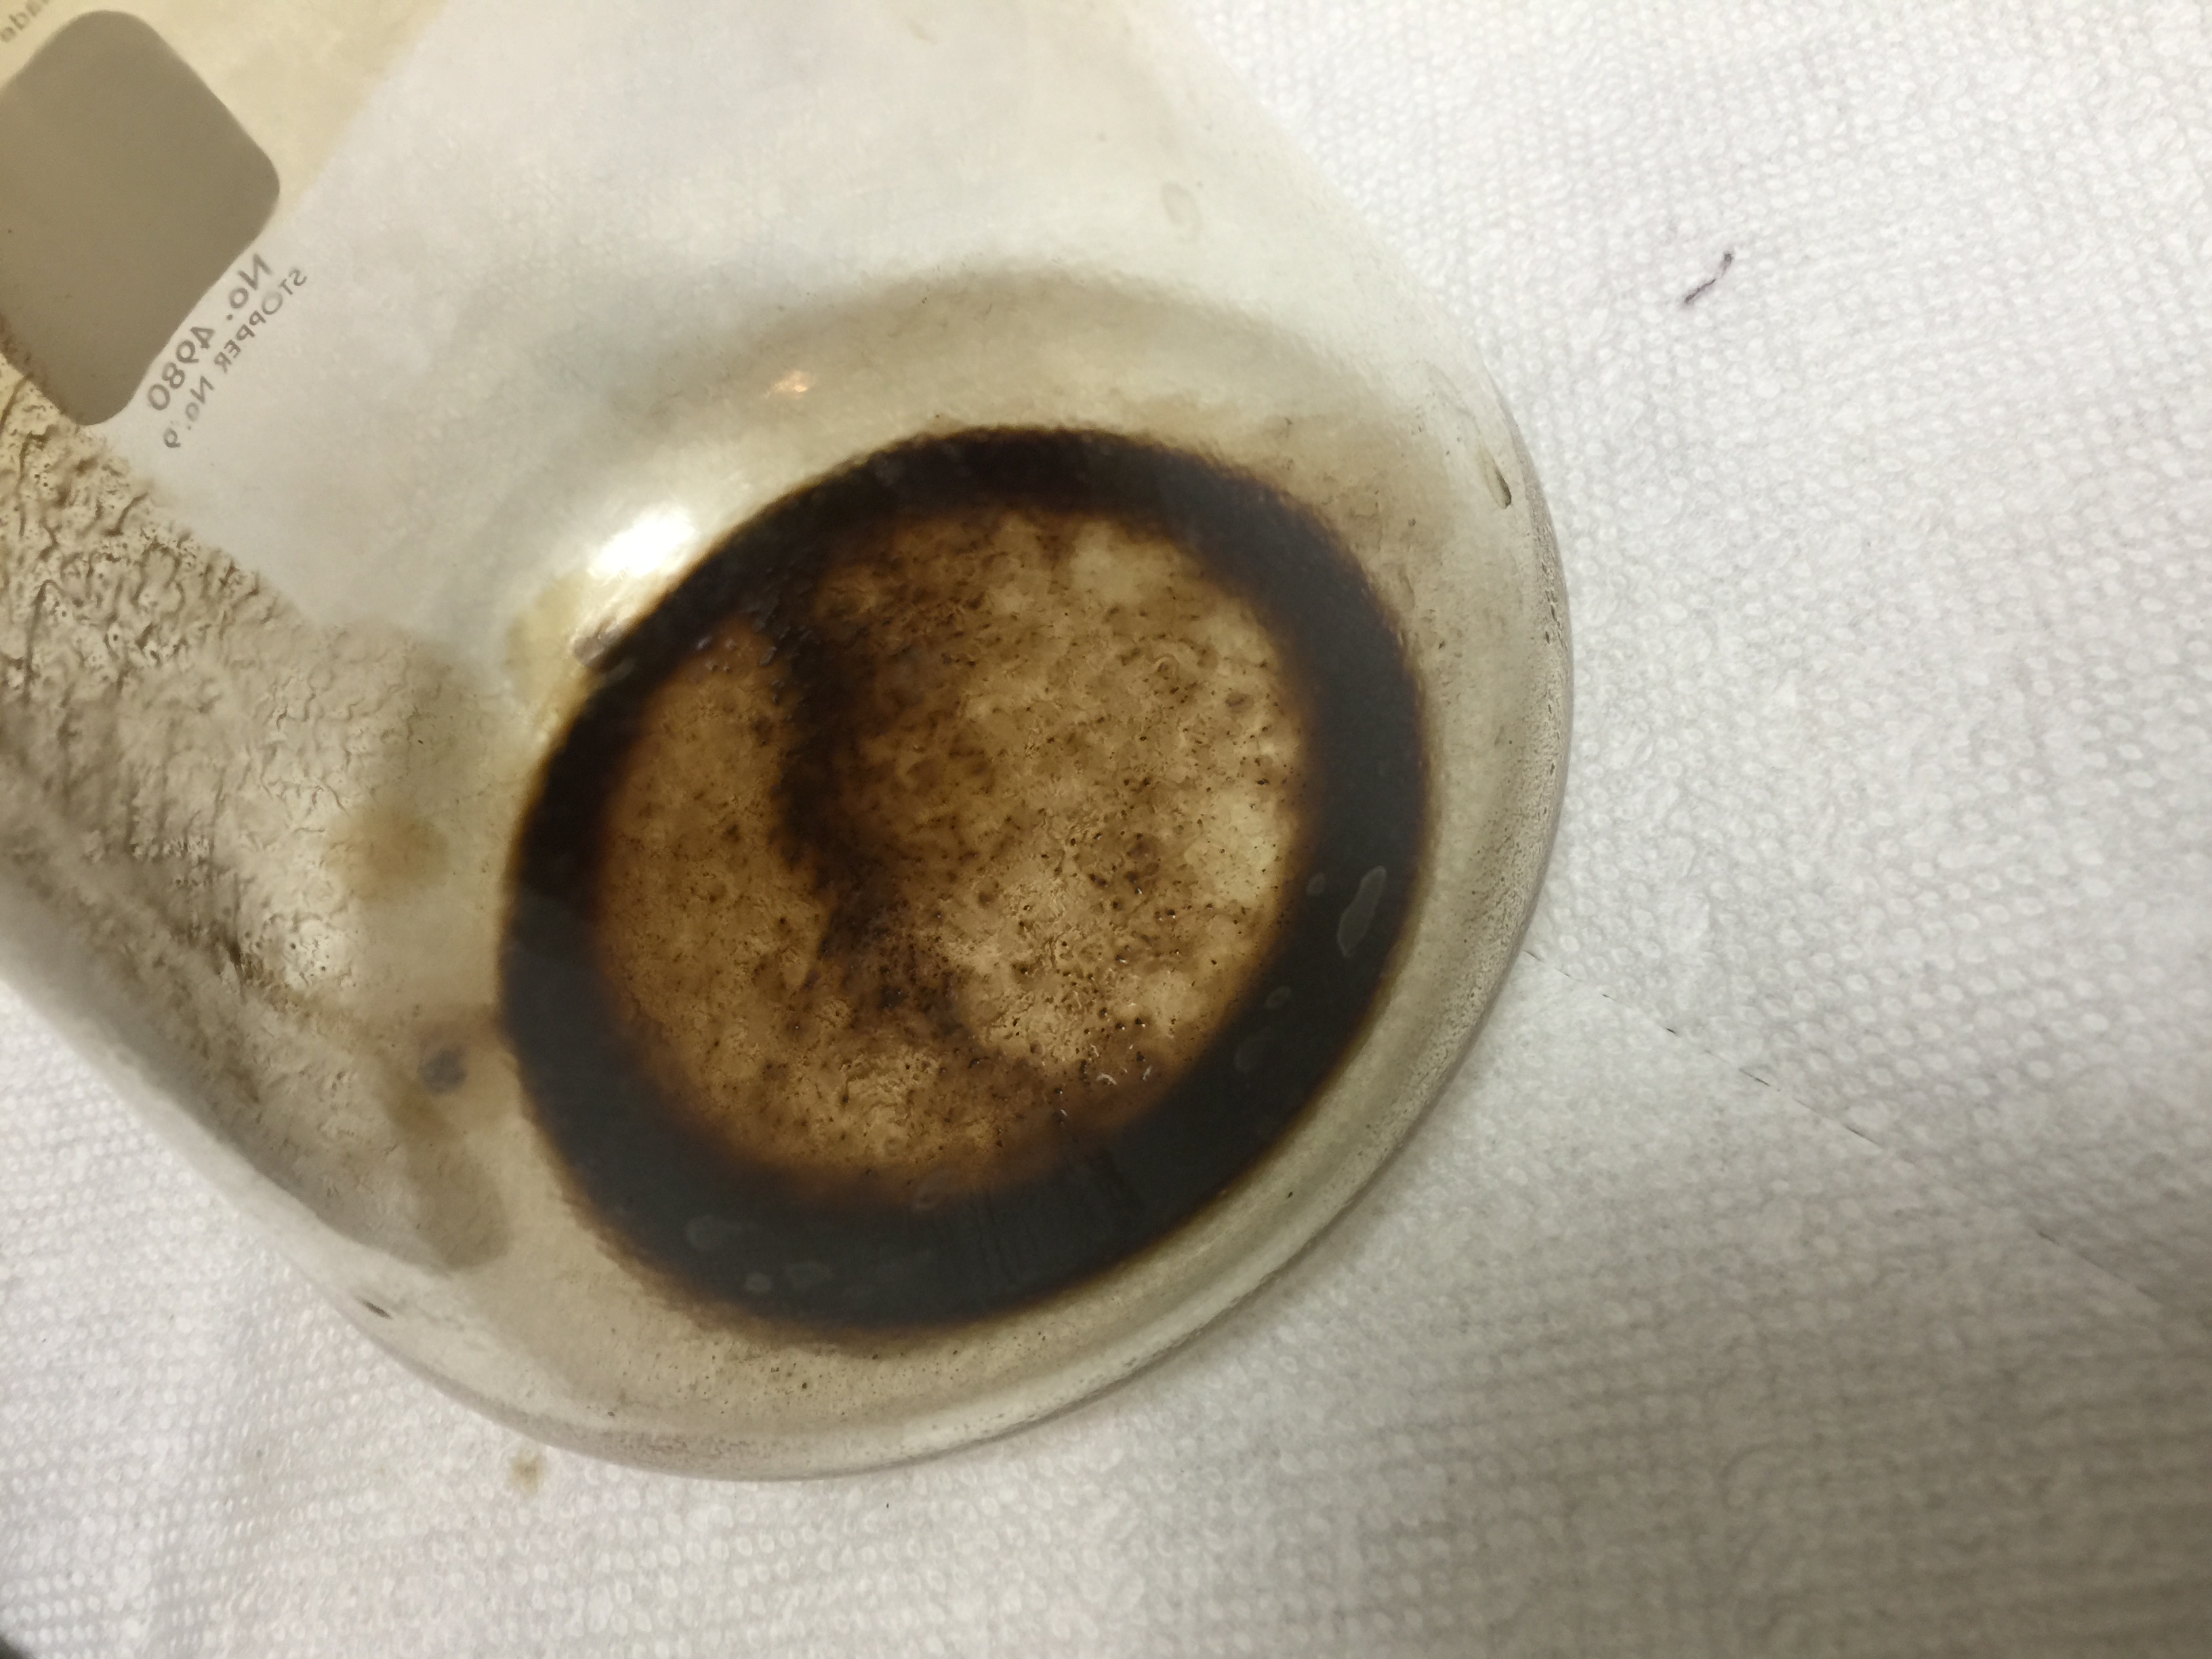
While I did miss the photo of the final filter, please know that I did one last cone filter into the storage jar. This sediment in my collecting jar is why. My final concentrate is relatively particulate free.
How do I use my Cold Brew Coffee Concentrate?
Fair question... You should dilute it at least 1:1. I will often boil water and put an equal amount of cold brew concentrate to an equal amount liquid (warm half & half, and boiling water). If you find this too strong, then, of course, dilute it more with liquid of your choice.
Here is another example of a fine use of this concentrate. This is often the first thing I do after bottling a batch.
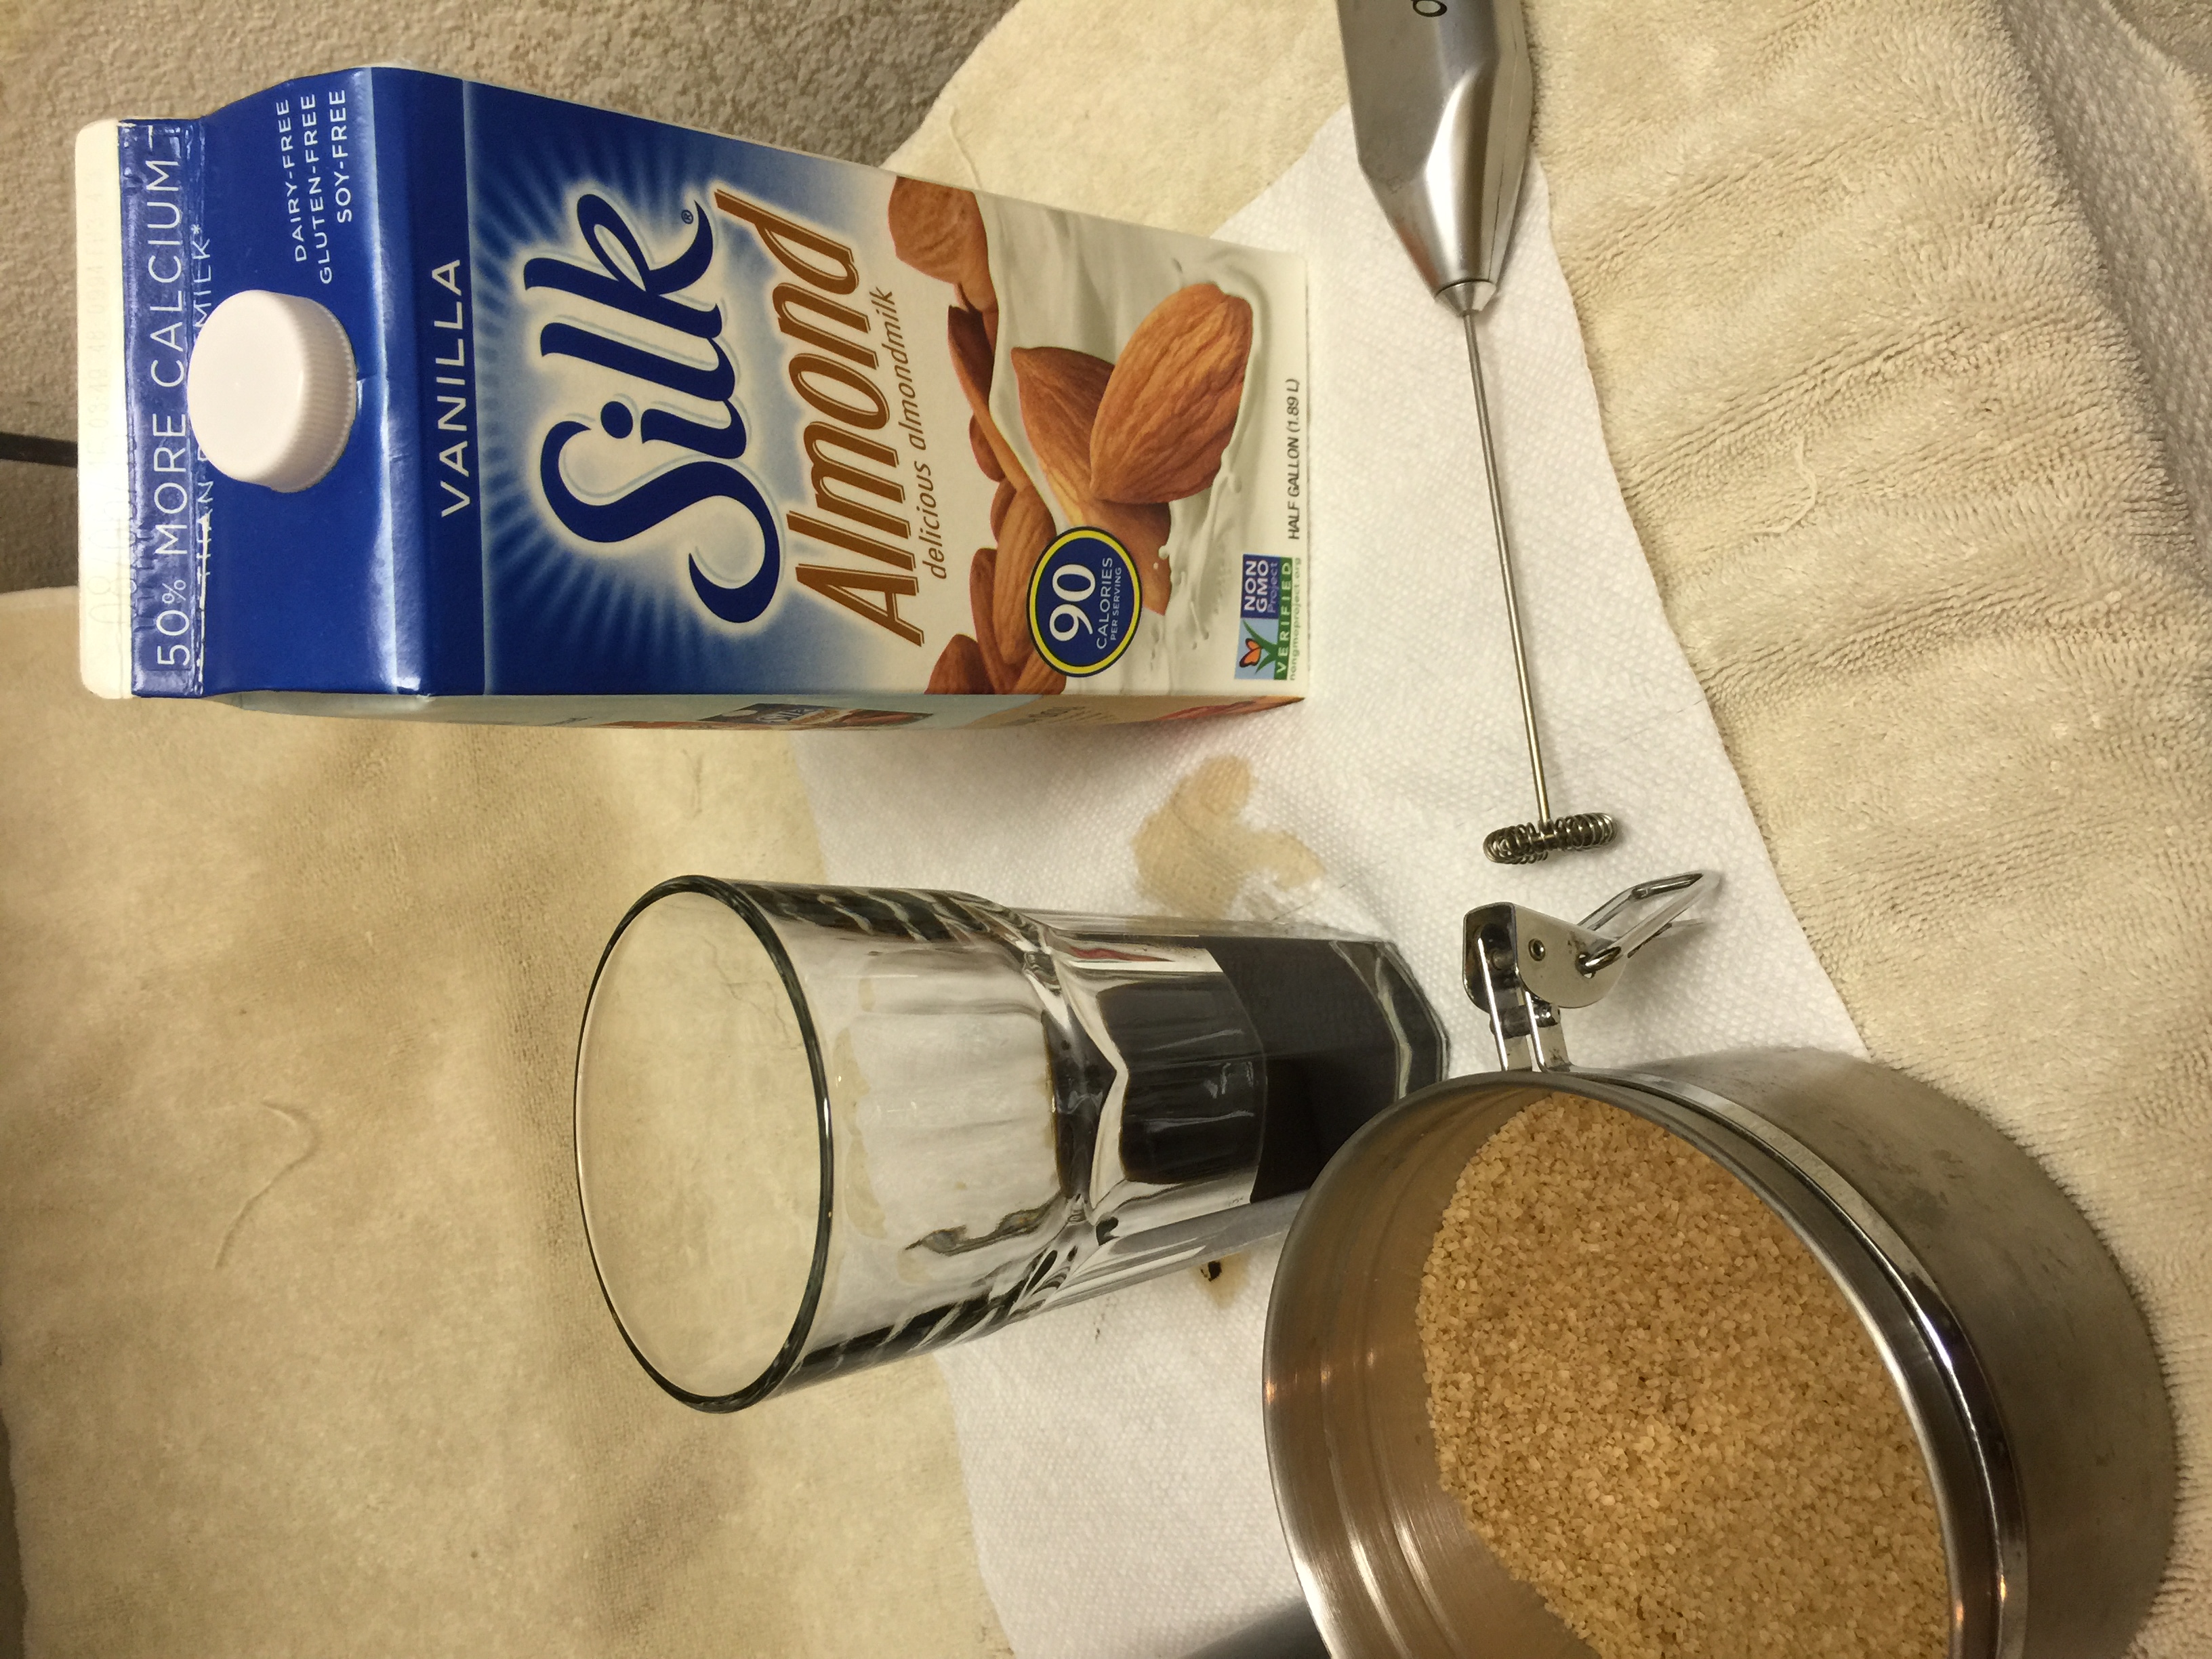
frapucchino fixins
I add a couple of ounces of coffee concentrate to a tall glass and toss in some raw sugar

milk time
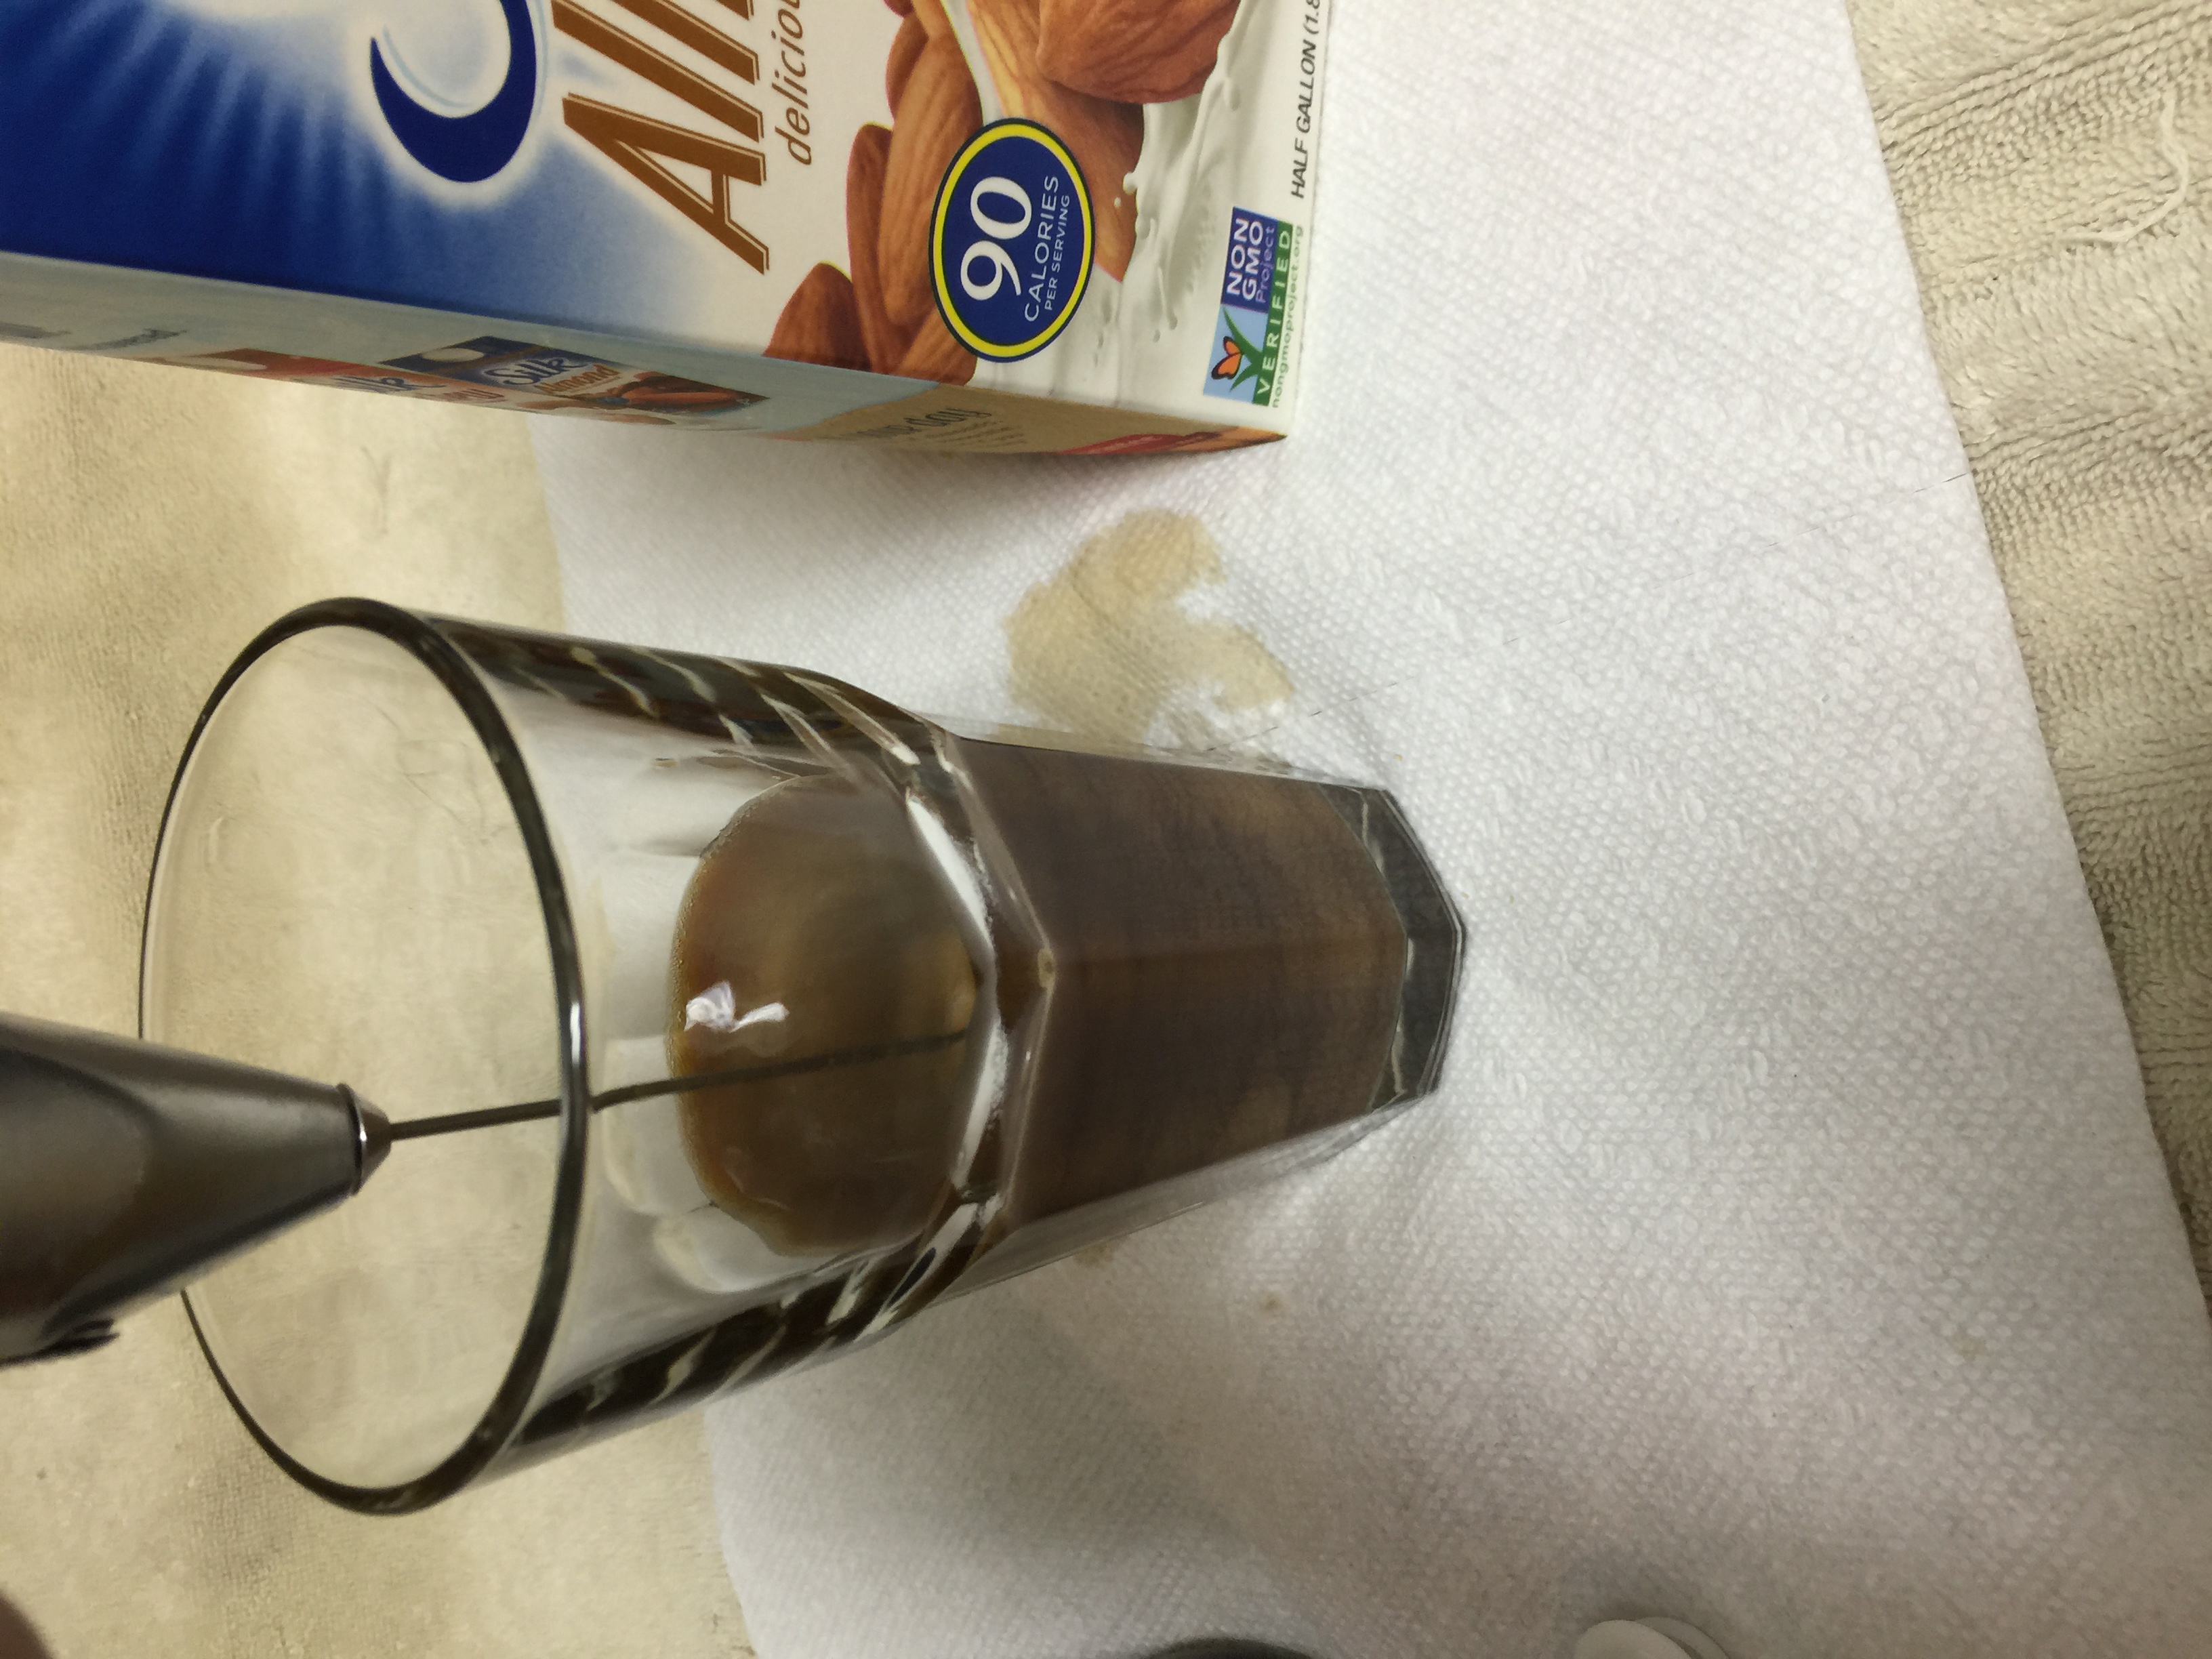
Next add in some half & half, or milk, or (in this case) almond milk.
Note: You can certainly use a spoon for this. I like my little electric whisk, it makes a nice froth.
Enjoy!

Disclaimer: Diligent observers may wonder about my glassware. I would borrow a line from "Honey, I shrunk the kids". "Back off, man. I'm a scientist."
In the course of my many years doing research there were occasional opportunities to help salvage various research labs that had gone under. Grad students sometimes get the opportunity to reclaim unwanted bits. Professors doing renovations occasionally have the opportunity to repurpose things long out of use.
Point being, none of my glassware was "pilfered" from any of my teaching gigs. I doubt any of you actually thought that, but I figured it's worth saying. Thus ends the "end-of-blog-post" fine print.
What are you waiting for, go make some Cold Brew Concentrate
Final Disclaimer:
This stuff is called Cold Brew Coffee CONCENTRATE for a reason. It's freaking STRONG! Should you decide to try and drink it straight, be aware you are getting a serious dose of caffeine. I recommend diluting it at least with equal parts liquid, perhaps a 1.5 - 2 - 1 dilution.